
Best One Line Kubernetes Development Environment
If anyone is interested in developing their Kubernetes (and say Helm) skills, let me show you the best one line Kubernetes development environment setup I’ve found to date.
First the tools you need to install:
Now here’s the magic one-liner:
k3d cluster create mycluster -p 80:80@loadbalancer
Ok, that looks fairly innocent.
“What is the advantage of this over other options?” You ask.
Well, there are a couple of secrets at work here that took me a while to put together.
But let’s talk first about one of the biggest pains with doing any kind of microservices development locally; hostname resolution.
Local Hostname Resolution
Most of the time when you have any number of microservices beyond 2 (and even 2) you need to resolve hostnames. IP addresses are hard to remember and unique port numbers are a pain.
More importantly you can quickly loose affinity towards the networking aspects of production particularly necessary when working with web applications such as CORS or Content Security Policies, authorization server front channel and back channel flows, and other things that are a pain or impossible with localhost. Particularly you’d like to actually test those concerns out locally if possible.
What most people do is modify the hosts file on their local system. But this requires root or admin access. The problem with this is that it ranges from impossible on some locked down systems to just a huge pain.
Secret #1: Docker Hostname Resolution
Docker (at least on Linux and MacOS) has a solution for this in that it automatically resolves any hostname with the suffix .docker.localhost to the IP address of the Docker host.
So, for example, if you have a service running on your local system on port 8080 and you want to access it using http://myservice.docker.localhost:8080, it will work.
The ability to use an arbitrary number of hostnames without any fuss is really useful.
Secret #2: k3d Load Balancer & Port Forwarding Port 80
Our K3d command causes K3D to set up a Load Balancer (traefik) service running in a docker bridge network created for your cluster. It then sets up port forwarding from your local system’s port 80 to that Load Balancer service.
Now the really nice part is that it can actually forward port 80 which normally is a privilege that requires root or admin access. Luckily the Docker infrastructure enables this without any fuss. This means we can work with standard HTTP ports and not have to worry about unique port numbers messing up our configurations.
(Note: If you want enable HTTPS it’s a little more complicated, not much, but to get the networking setup all you’d need to add is -P 443:443@loadbalancer to our one-liner.)
The built in Load Balancer service allows you create Kubernetes Ingress resources the way you would in a production Kubernetes cluster.
For example, if you have a Kubernetes service running on port 80 and you create an Ingress resource with hostname myservice.docker.localhost and you want to access it using http://myservice.docker.localhost (note I omitted the port) it will work!
Want to test? Let’s Go!
# Create our cluster
k3d cluster create mycluster -p 80:80@loadbalancer
# Create a deployment
kubectl create deployment nginx --image=nginx
# Expose the deployment through a service
kubectl expose deployment nginx --port=80 --type=ClusterIP --name=nginx-service
# Create an ingress resource with a hostname that routes to the service
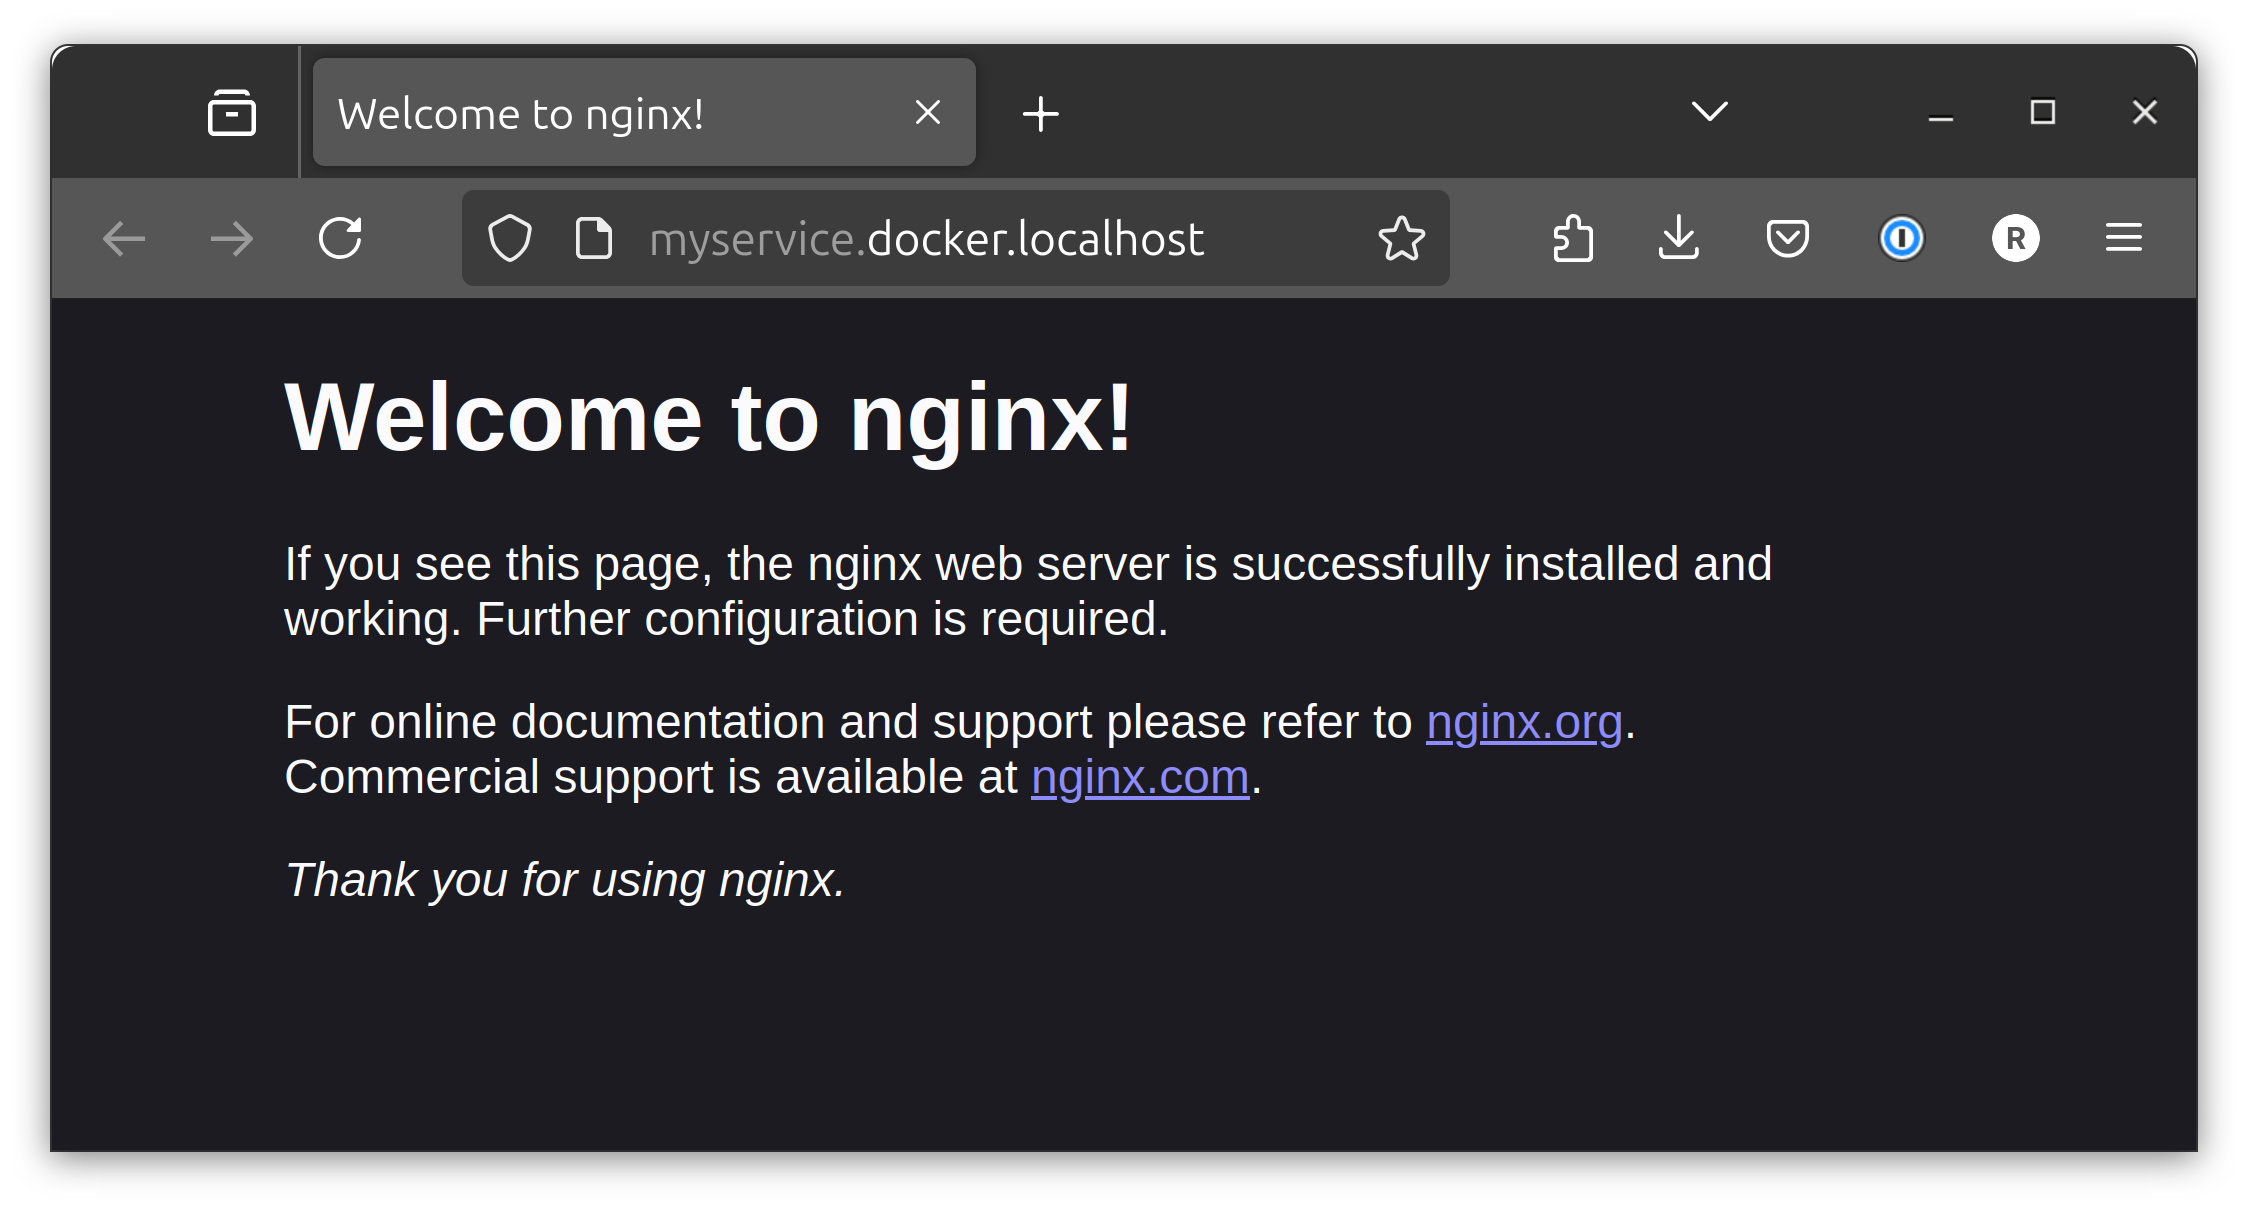
kubectl create ingress nginx-ingress --rule="myservice.docker.localhost/*=nginx-service:80"
Now you can access your service at http://myservice.docker.localhost
Test Helm with Ingress
Let’s install Keycloak using Helm and make it accessible at http://keycloak.docker.localhost
# Create our cluster
k3d cluster create mycluster -p 80:80@loadbalancer

# Add the Helm repository
helm repo add bitnami https://charts.bitnami.com/bitnami

# Install the Keycloak chart
helm install keycloak bitnami/keycloak --set ingress.enabled=true --set ingress.hostname=keycloak.docker.localhost --set auth.adminPassword=admin
Now you can access keycloak at http://keycloak.docker.localhost
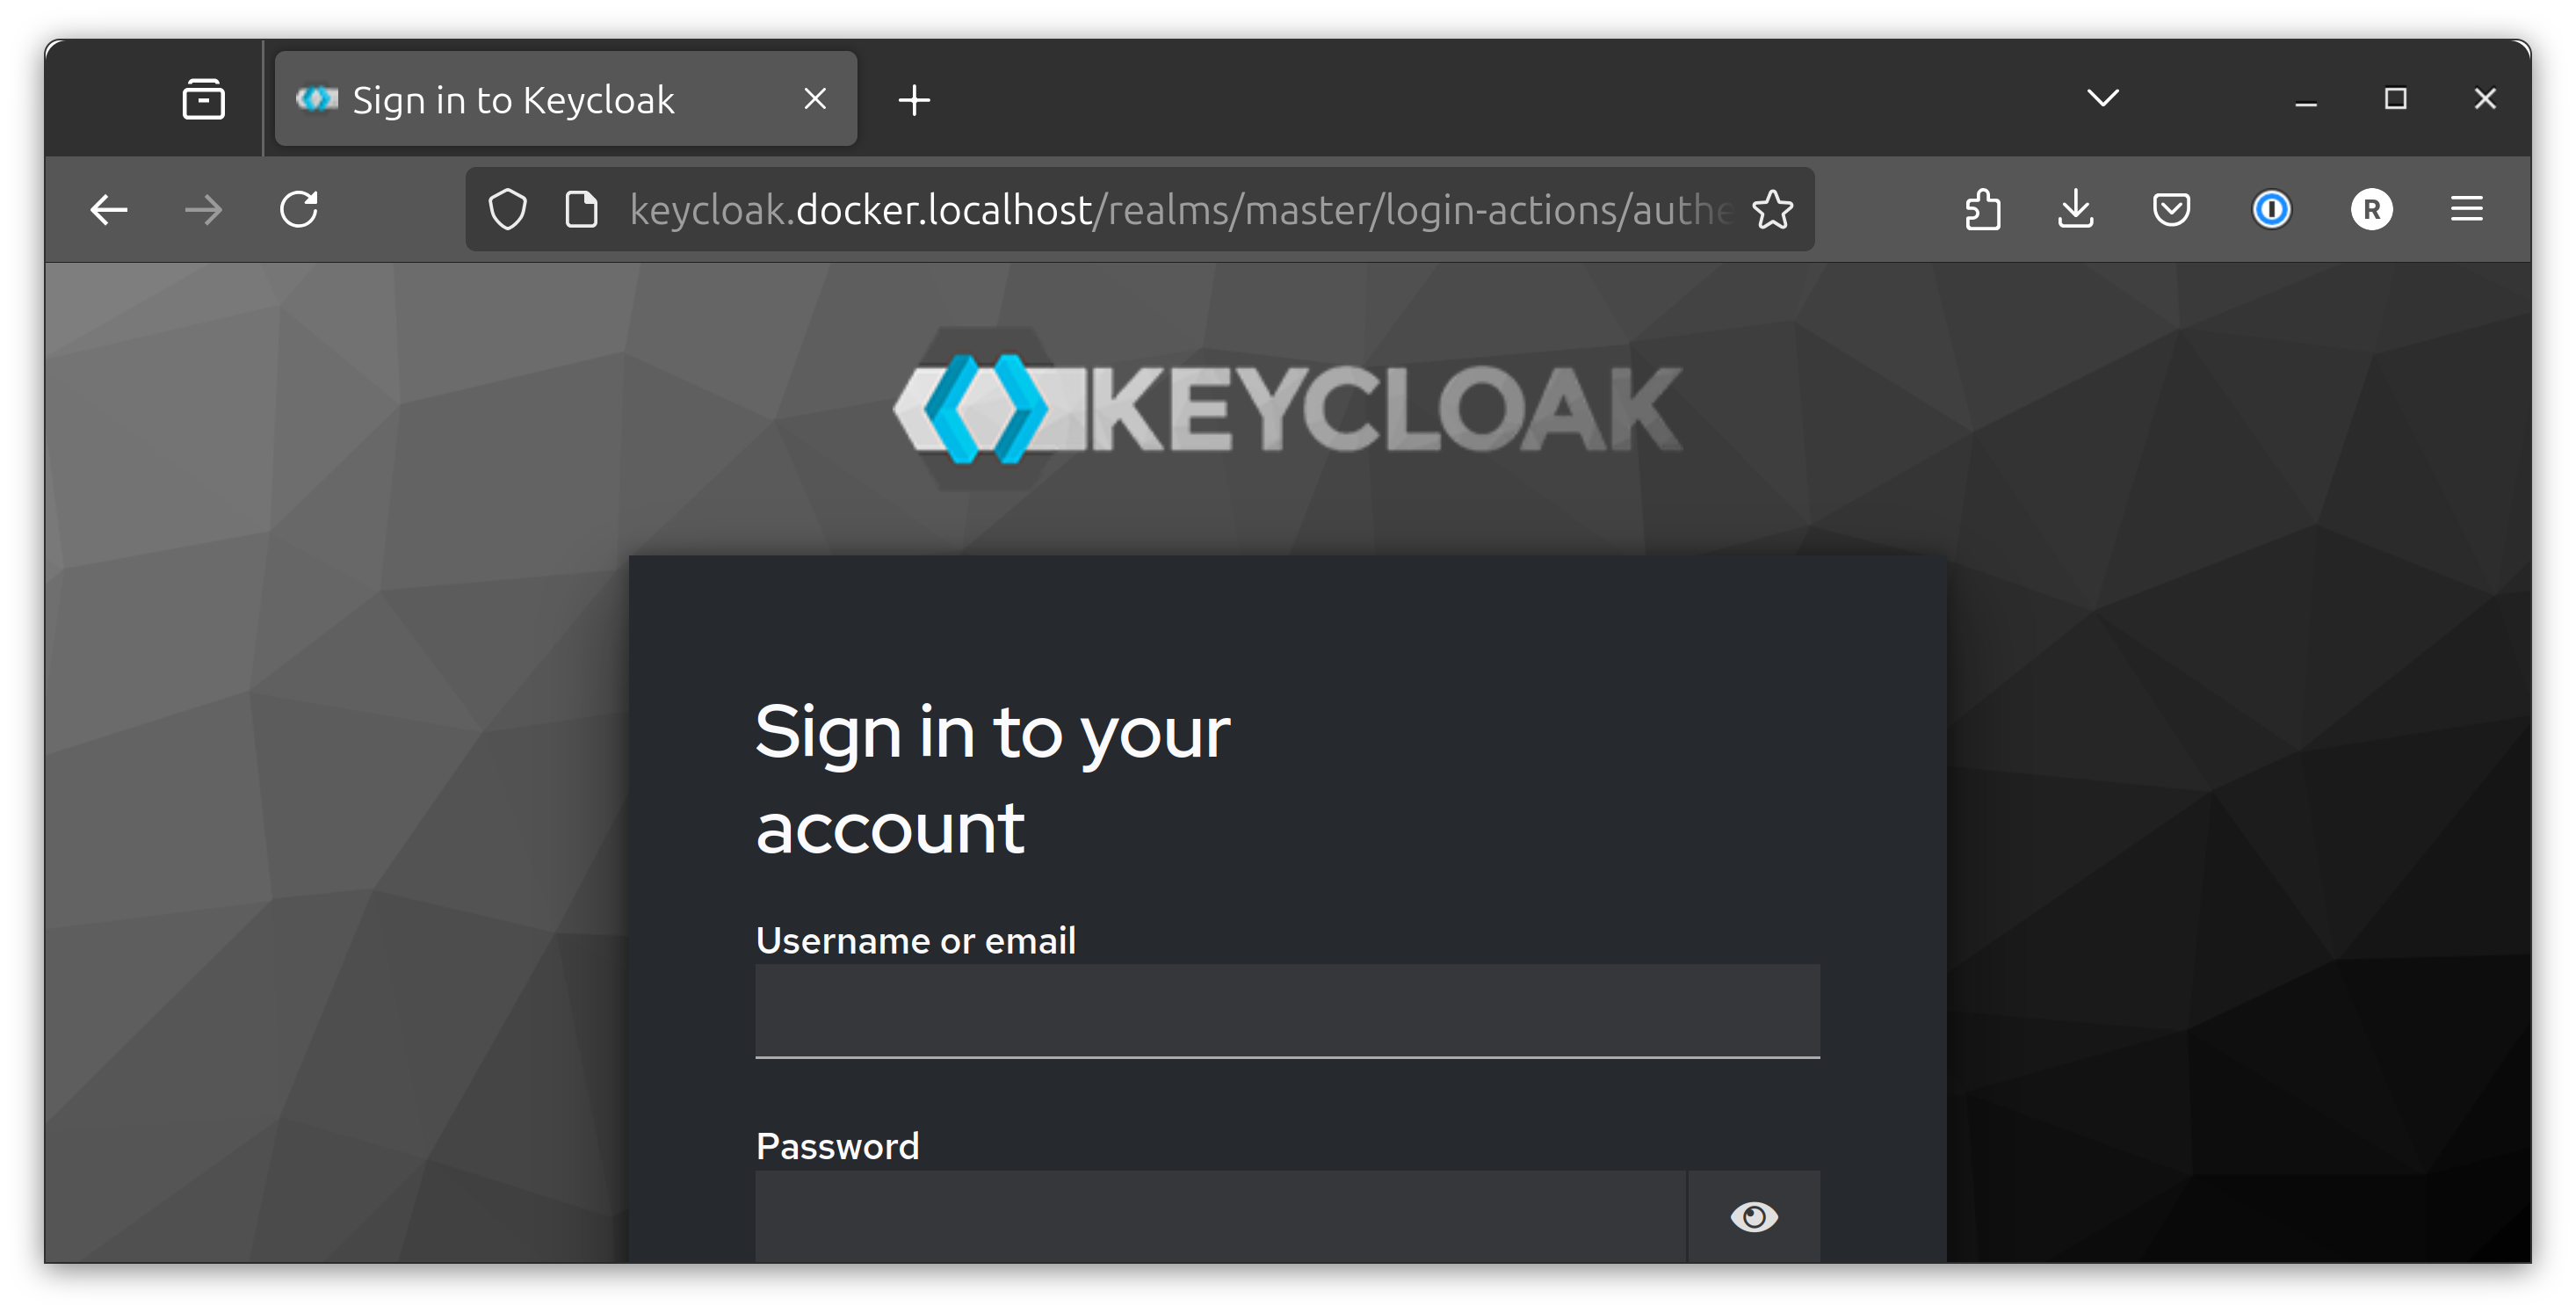
Easy peasy!
If you care to leave feedback, or if you know of an even easier one liner that gives you this much functionality, please do so on LinkedIn.
Thanks for stopping by!